
Historical Post: This article was originally written in 2015. The technology discussed may be outdated or deprecated. Keeping it here for historical reference and to show I’ve been blogging since 2015!
Overview
This tutorial introduces developers to Entity Framework’s Code-First approach, a convention-based methodology where you write C# models to represent database entities, allowing Entity Framework to generate the database structure automatically.
Creating the Contact Model
Start by creating a Contact.cs class in your Models folder with the following properties:
public class Contact{ public int Id { get; set; } public string FirstName { get; set; } public string LastName { get; set; } public string PhoneNumber { get; set; } public string Email { get; set; }}Setting Up the Database Context
Create a DAL (Data Access Layer) folder and add ContactsContext.cs:
public class ContactsContext : DbContext{ public virtual DbSet<Contact> Contacts { get; set; }}The DbContext inheritance signals to Entity Framework which entities should be created as database tables.
Scaffolding the Web API Controller
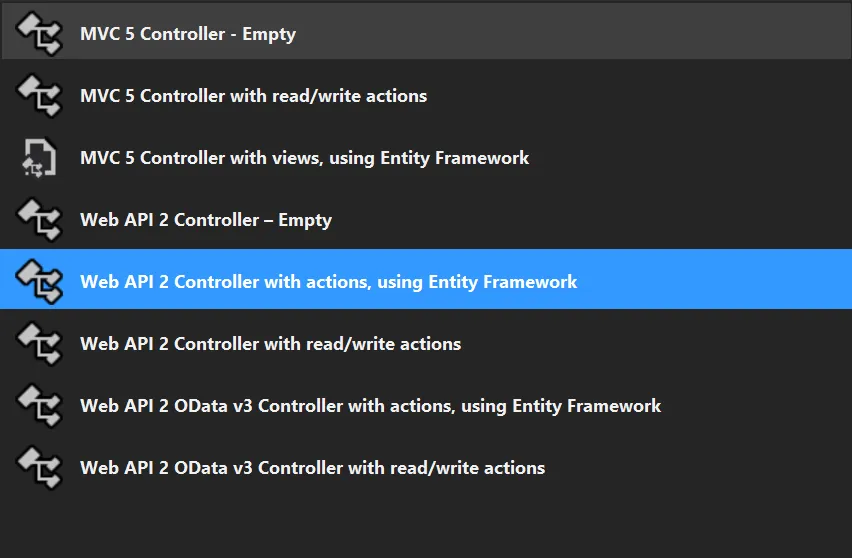
Use the scaffolding feature to generate controller code:
- Right-click Controllers folder -> Add Controller
- Select “Web API 2 Controller with actions, using Entity Framework”
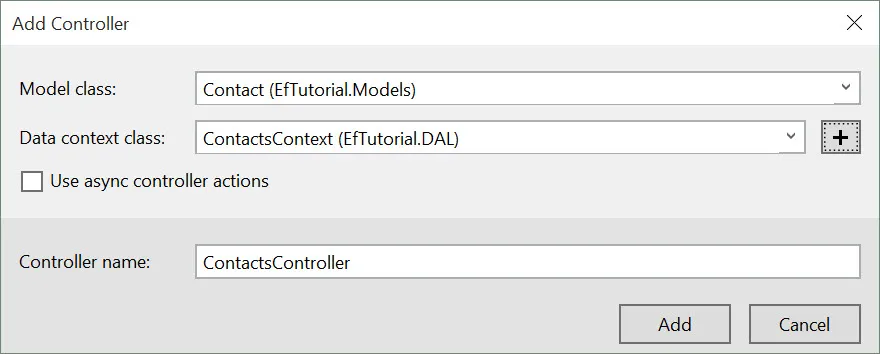
- Specify Contact as the model and ContactsContext as the data context
This generates full CRUD endpoints (GET, PUT, POST, DELETE) automatically.
Database Seeding
Enable migrations via Package Manager Console:
Enable-MigrationsAdd-Migration initModify the Seed method in Configuration.cs:
protected override void Seed(EfTutorial.DAL.ContactsContext context){ context.Contacts.AddOrUpdate( new Contact { FirstName = "Brandon", LastName = "Tillman", PhoneNumber = "(123) 456-789", Email = "[email protected]" } );}Apply changes:
Update-DatabaseVerification
Access your API endpoint to confirm success and view seeded data in XML format.