
Over the past decade, Docker has transformed server hosting by introducing containerization, and Minecraft Bedrock Edition servers are no exception. Containerized servers are lightweight, portable, and easy to manage compared to traditional hosting solutions. In this guide, I’ll walk you through setting up a Minecraft Bedrock Edition server using Docker and Portainer, a user-friendly container management tool. Whether you’re a seasoned sysadmin or a Minecraft enthusiast, this process is surprisingly simple!
Why Use Docker for Minecraft Bedrock Servers?
Docker simplifies server deployment by packaging everything into a single container. With Portainer, you get a web-based interface to monitor and manage your containers effortlessly. Benefits include:
- Quick Setup: Spin up a server in minutes.
- Portability: Easily move your server to another host.
- Scalability: Run multiple servers with minimal overhead.
- Automatic Updates: Restarting the container updates the server.
Prerequisites
Before you begin, ensure you have:
- A Windows (with WSL2 enabled) or Linux host.
- Git installed (sudo apt install git on Ubuntu/Debian or equivalent).
- Docker installed (see Docker’s official guide).
- Network firewall ports opened (default: UDP 19132 for Minecraft Bedrock).
- A basic understanding of terminal commands.
Step-by-step Guide to Setting Up Your Minecraft Bedrock Server
I’ve created a GitHub repository with a bootstrap.sh script to automate the setup process. Follow these steps to get your server running:
- Download and Run the Minecraft Bedrock Bootstrap Script
Open a terminal and execute the following commands:
wget -O https://github.com/Tillman32/minecraft-bedrock-server/raw/refs/heads/main/boostrap.sh && \
chmod +x bootstrap.sh && \
./bootstrap.sh
This script installs Docker (if not already present), sets up Portainer, and deploys the Minecraft Bedrock server container.
- Access Portainer
Open your browser and navigate to https://<hostname>:9443, where <hostname> is your server’s IP address or localhost if running on your desktop.- On first login, create an admin user for Portainer.
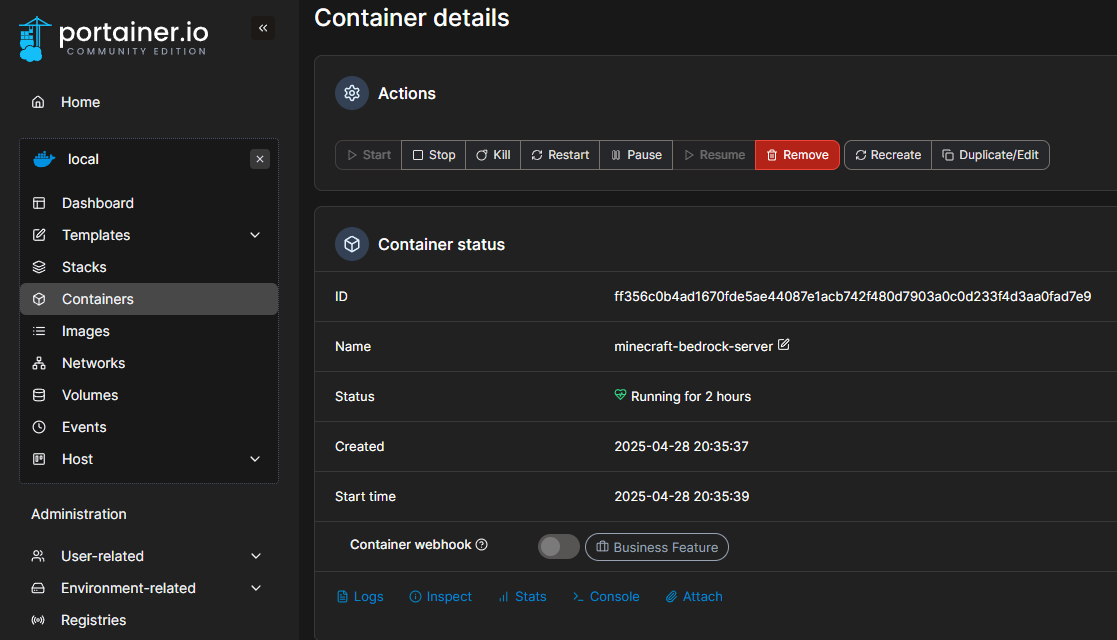
- Log in and go to the Containers section to see your Minecraft server container running.
- Manage Your Minecraft Bedrock Server
In Portainer, you can:- View server logs to troubleshoot issues.
- Restart the container to apply updates automatically.
- Stop, start, or delete the container as needed.
- Connect to Your Server
Launch Minecraft Bedrock Edition, go to Multiplayer > Servers, and add your server using its IP address and port (default: 19132). Join and start playing!
Advanced Tips
Add-Ons: Want to run Minecraft Add-Ons? The server directory is available at /opt/minecraft-server.
Hosting Multiple Servers: Want to run multiple Minecraft servers on the same IP without custom ports? Check out my guide on using SRV records to route traffic efficiently.
Custom Configurations: Modify the server.properties file in the container to tweak gameplay settings (e.g., difficulty, game mode). Access it via Portainer’s file explorer or by mounting a volume.
Backups: Schedule automatic backups of your world data using Portainer’s volume management or a custom script.
Additional Resources
The Docker image used in this setup is itzg/minecraft-bedrock-server. Check its documentation for advanced configuration options.
Need help? Post a question in the comments below, and I’ll be happy to assist!
Conclusion
Setting up a Minecraft Bedrock Edition server with Docker and Portainer is a game-changer for hosting. It’s fast, flexible, and perfect for both solo players and large communities. Try it out, and let me know how it goes!